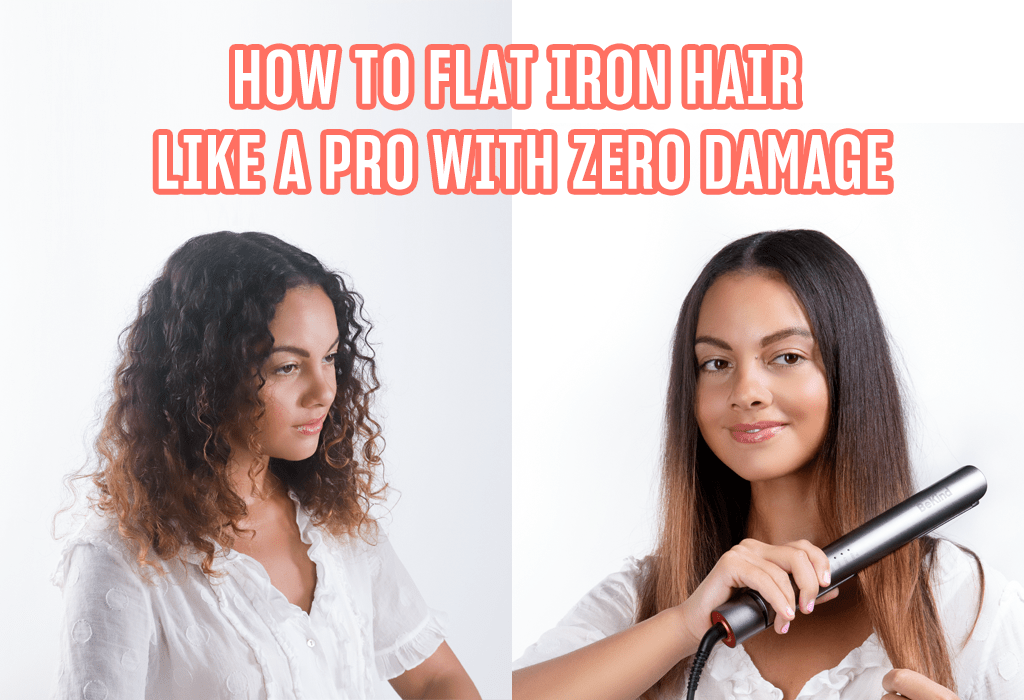
Even though curls are all the new rage these days, there is nothing better than silky smooth straight hair for everyday looks. If you have curls like me, it can be a little challenging to manage them when you want to leave them be. With a lot of frizz that comes free with having curls or waves, the entire look at times may not be appropriate for formal events.
With straight hair, there are lesser chances of hair being tangled that ultimately causes hair breakage. Also, not to mention, it is easy to take care of straightened hair compared to those curls(expensive products!).
I do love my curls, but at times when I am in the mood for changing my entire identity, I love a good straightened hair look. And even if you have straight hair, it may not be as straight as it would look if you used flat iron. That edginess comes from perfectly flat-ironed hair! It suits everyone, even if you have a thin or delicate hair texture. Perfectly straightened hair is difficult to achieve, though, and requires a lot of patience.
I remember the days when I used to use a flat iron to straighten my hair at night and then touch up again the next day. It is even better if you have someone to do your hair, especially the back and the crown sections.
I also used to use a hair straightening brush the night before to slightly straighten my hair so that I could use a flat iron the next day to get that perfectly straightened hair. But the more heat tools you use on your hair, the more damaged it gets. One thing that has helped me reduce hair damage due to excess heat is regularly trimming my hair or even getting a haircut. I personally like my hair to be at shoulder level, so I prefer trimming the ends when they get too dry in the worst-case scenario (which hasn’t happened so far, by the way).
But let us be honest, too much heat can damage our hair, be it straight, curly or wavy. It can dry out and cause frizziness at the ends. The heat is also not good for your roots; even though we do not directly use it on our scalp, it does make our roots weak, which leads to hair fall and other hair related problems.
Now, we all would love tips and tricks that would give us perfectly straight hair without causing as much hair damage, wouldn’t we? I have been using flat irons since my college days, and here are a few hacks that have helped me prevent hair damage while giving me a perfect straightened look. I will be sharing the tips on how to get your hair ready for the best results and straighten your hair with a flat iron in the below-sections.
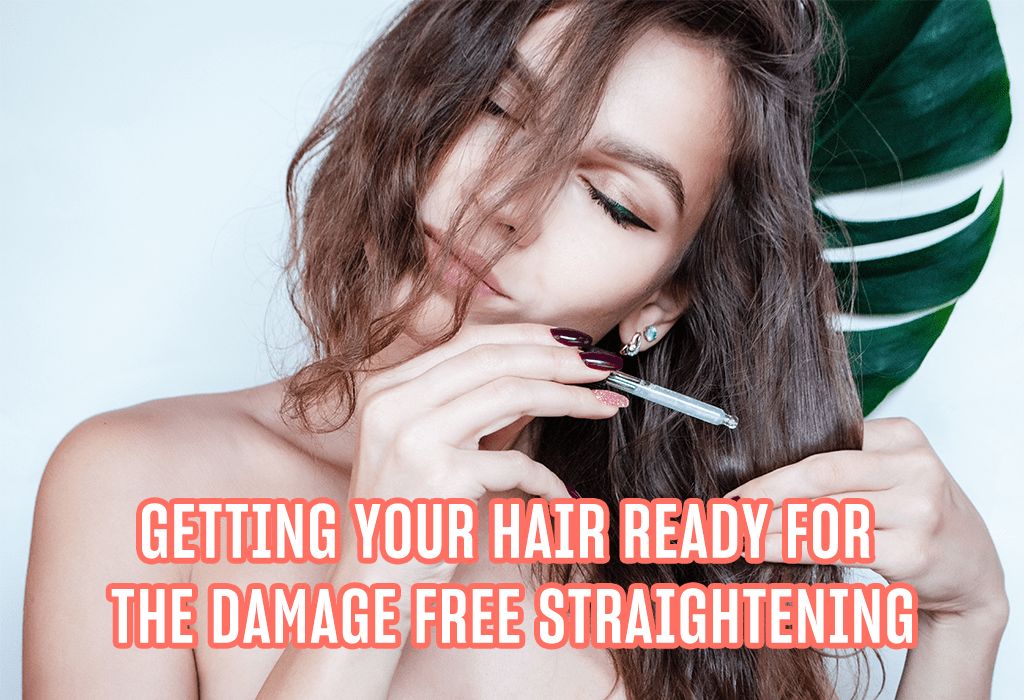
Getting Your Hair Ready For The Damage Free Straightening Results Using A Flat Iron.

1. Scalp care:
Hair fall, breakage, frizz can all be caused because of your scalp not getting proper treatment. And using heat styling tools can worsen it. So, the first thing you must focus on is taking care of the roots. If they are strong from within, you will have a lesser issue while using heating tools.
✔ Oil your hair with your preferred hair oils (whatever works for your hair) once or twice every week for better hair growth.
✔ Use shampoos that are free from sulfate, paraben, and other harmful chemicals.
✔ Detangle your hair before shampoo so that the product is spread evenly.
✔ Avoid using shampoo on your ends.
✔ Also, avoid using conditioner on your scalp/roots.
✔ While using a styling tool, try to remain as far away as possible from the roots.
✔ Switch to a healthy lifestyle, consume more protein for stronger hair.
2. Hair Prep:
Once you have started taking care of your hair internally, we can talk about how to prep your hair before straightening them.
➡ Do not scrunch your hair after hair wash since it will activate the natural curls.
➡ You can use microfibre towels to reduce frizz.
➡ Make sure to spread your conditioner evenly as possible throughout all the strands/ clumps of strands.
➡ You can use combs for the .point mentioned above.
➡ If you have thin hair, air drying might add a lot of frizz. You can tie your hair in a low ponytail without tightening the hair elastic and let it air dry.
➡ To tame the frizz, you can also use leave-in conditioners.
3. Using A Good Flat Iron: I Recommend BeKind Apex 2-In-1 Flat Iron.
Now that your hair is prepped, let us talk about the styling tool and how important it is to invest in one that does the job without breaking hair due to tugging. Also, not to forget that we all want a flat iron that will give us frizz-free hair every time we style it.
What basic features should you look for while buying a flat iron:
? Has ceramic plates which will help reduce frizz.
? A stable temperature throughout your hair styling process.
? It is great if it comes with styling accessories.
? Heats up quickly to save time when you are in a rush.
I would also like to recommend a flat iron with the features mentioned above and another fantastic feature that will save you from hair damage. The Bekind Apex flat iron hair straightener has floating plates, giving you absolutely zero hair tugging, which results in zero hair breakage.
It also has a temperature memory feature in it, meaning that it will remember the previous temperature at which you used the flat iron and will get heated up to that in no time. You do not have to set the temperature every time you use it. The style also stays for a longer time compared to other flat irons out in the market.
If you have curly or wavy hair and you find it difficult to keep the straightened hair in place merely after an hour of straightening it, you can check this product out. The style lasts very long, especially for curly hair!
4. Heat Protectant:
I cannot stress enough on how important a heat protectant is for your hair. It not only protects your hair from damage but keeps it free from frizz and makes it look shinier. If you do not have a heat protectant spray or products like that, you can use argan oil as well.
I used to use aloe vera gel, just a tiny amount on each section, and it helped my hair stay in place even after straightening it. Since I have curly hair, my hair tends to get back to its natural state even after flat ironing it, after an hour. Hence, this step really helped in keeping my style for a longer duration.
If you want your hair to stay in place, you can also use a setting spray or other products known to hold the style for hours.
Now that we have talked about a few tips on getting your hair ready for the best results, let me tell you how to straighten it step by step.
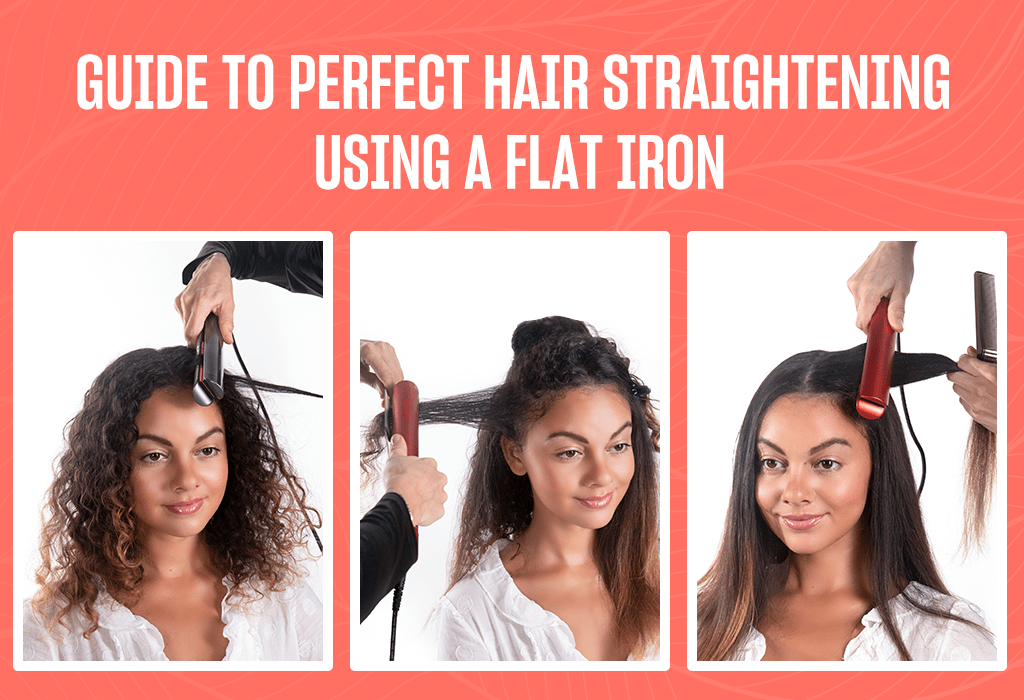
Guide To Perfect Hair Straightening Using A Flat Iron (Step by Step).

Step 1: Detangle your hair first with a wide-tooth comb to reduce hair fall and breakage due to tugging.
Step 2: Section your hair into two parts, making the middle partition.
Step 3: Take one section out of the two and part it into two more sections: upper and lower.
Step 4: Clip the upper section of the side partition with the help of a hair clip or tie it with elastic.
Step 5: Make sure your flat iron is at the right temperature before you start.
Step 6: Comb the lower section; if possible, do it with a fine-tooth comb.
Step 7: Part that lower section into 2: front and back.
Step 8: Take the back section and comb it again.
Step 9: Apply the heat protectant on that section.
Step 10: Put your comb through your hair, and while gently taking the comb from roots to the ends, move the flat iron along the way slowly.
Step 11: If you do not have heat protectant gloves, this is the best way to avoid heat burns from the straightened hot hair. And it gives a perfect straightening every time since the heat gets distributed throughout.
Step 12: Now, repeat the same two more times until you have reached your desired style.
Step 13: Take the front section of the lower partition and repeat the same.
Step 14: Once the lower section is done, you can clip them to keep in place.
Step 15: Unclip the upper section and part the hair into two again: front and back.
Step 16: Repeat the same steps and continue them on the other side as well.
Step 17: Once done, you can apply setting products that will help lock the style.
Flat Iron Hair Styles: Video Tutorials.
Conclusion:
Even though we wish to have styled hair every single day, it is practically impossible to achieve without using a tool that uses heat to style our hair. But with the right hacks for before and aftercare of our hair and with the right styling tool, it makes the entire process much easier and manageable. That is why make sure to invest in a good flat iron like the Bekind Apex flat iron hair straightener, which will save you a lot of time and also hair!
Olivia is a pro-hair styler and blogger. She loves to explore new hairstyles, create tutorials, and share hair-care tips with her audience. When not working, one can find her exploring beaches in California or having fun with her pet. Do follow her profile to read all her upcoming blogs related to hair care and hairstyling.


